This is the first step in the process of obtaining a polished
concrete floor finish. A few millimeters are grinded off to expose the aggregate.
At a later stage another layer will be grinded off until the final finished
floor level is reached. The concrete is
then polished several times and sealed with a deep penetrating sealer.
17 October 2012
16 October 2012
10 October 2012
Day 219: Curing concrete
After casting, the concrete was covered with a plastic sheet
to assist the curing process. We removed the sheet on Monday to have a look at
our slab.
03 October 2012
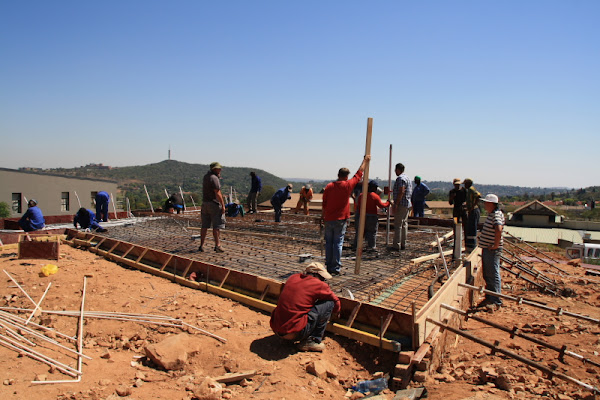
Day 212: Casting of ground floor slab
On photographs everything looks so calm and in control. In
reality however…the site was in total chaos. The concrete was supposed to
arrive at 8am. Instead, we were all running around until 12pm installing drainage,
tying down steel mesh, fixing shutter boards and getting serious sunburn.
Finally when everything was in place the concrete pouring
could start. They poured the balconies first. The concrete mixture contained a
waterproofing admixture mixed into the concrete prior to delivery.
As they pour, someone directs the flow, someone else vibrates
the concrete, another person starts levelling and before you know it you have a
ground floor slab complete with electrical conduits and plumbing pipes.
01 October 2012
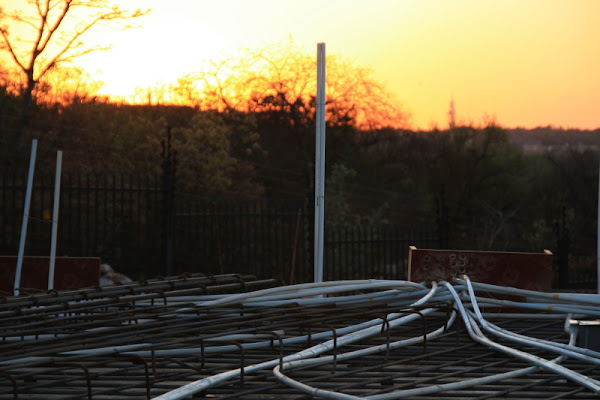
Day 210: The night before casting
The site was covered with people this afternoon, scurrying to ready everything for tomorrow’s casting of the slab. Yet, it is not quite right…
15 September 2012
12 September 2012
Day 191: Wine Cellar – The true story
On the day that the shutter
work was removed from the concrete wine cellar, I received a phone call from my
builder. “Nadine, I think you should come to site”, he said. I immediately
expected the worst.
When I arrived at site it
did not look that bad. During the casting process the shutter work was not
supported enough and the weight of the concrete pushed the shutter work a
little bit further apart. This caused the plastic pipes to shift. As a result,
some of the pipes were skew and irregular at the visible façade.
The first attempt showing
the irregularities as well as concrete honeycomb at the bottom left corner.
My builder made the decision
to break down and rebuild. The shutter work was thoroughly supported the second
time and the concrete systematically compacted to prevent the formation of
concrete honeycomb.
The final result showing
smooth concrete and even spaced openings. Almost perfect! Now we just need to
fill it up with wine…
P.S. Can anyone tell me why
the flaking occurred at the top?
Subscribe to:
Posts (Atom)