25 June 2013

Day 488: Concrete walls final finish

The boards are off revealing a fantastic finish! Die first floor walls look exactly like expected and all the fine grains of the timber boards are clearly visible. Concrete work is never perfect and small deviations are visible as well as a broken edge on the southern side. However the walls are an absolute masterpiece and I am extremely satisfied.


22 June 2013

Day 485: Health and safety

We had to put up this site board to ensure everyone on site behaves in a safe manner and to prevent any accidents from happening on site.


Obviously this cowboy did not read the sign. 


21 June 2013

Day 484: Casting concrete walls

A concrete day is always an insanely hectic day. This one started at 7am with everyone on the team, including my husband and I, sitting on top of the shutter boards and fixing the final reinforcing bars. The shutter work subcontractors chased us off 30 minutes before the concrete was scheduled to arrive so that they can do the final fixing and preparation of their work. The timber planks fastened inside the shutter boards had to be made wet before the concrete could be poured in.

The concrete was scheduled to arrive at 10am. At 09:30am I received a phone call from the plant explaining that they have a problem at the plant and apologising that they won’t be able to deliver the concrete. At this point all I could do was beg and pray. The concrete pump was already set up and everything was in place. Imagine my relief when I got a call half an hour later stating that the trucks were on their way!


20 June 2013

Day 483: Ready for concrete

After weeks of hard work everything is finally in place and the walls are ready to receive concrete. The concrete trucks and concrete pump is scheduled for 10am today.  I’ll keep you posted.


13 June 2013

Day 476: Waterproofing a cold joint

Since we casted the bottom portion of the concrete walls separate from the top portion a cold joint has formed. This joint may be a potential leak. Therefore, we needed to add a waterproofing layer between the two separate concrete elements to ensure that no water can penetrate into the house in the case of a heavy rain storm.


12 June 2013

Day 475: Polished concrete steps

The initial grind has been done on the concrete steps leaving the surface smooth and even. However, I believe the most difficult part is yet to come. These steps weigh 270kg each and they need to be lifted and fixed in place. Any volunteers?


08 June 2013

Day 471: Timber shutters for the concrete walls

Do you remember the blog post about the concrete wall finish which reveals the timber grains of the shutter boards?  At this stage the shutter work sub-contractor is carefully installing timber planks as a lining into the form work. The planks are oiled with shutter oil prior to being fixed. Thereafter the sub-contractor sprays them with water twice a day, to ensure that they are saturated with water and won’t absorb the water from the concrete mix. When the concrete is poured it will move in between the rough grains of the timber and leave a grainy imprint on the final surface. 


07 June 2013

Day 470: Casting the bottom of the concrete walls

To ensure the bottom of the concrete wall has a smooth finish with no honeycombing defects, the bottom part was cast separately. This allowed the concrete sub-contractor the opportunity to vibrate the bottom piece separately from the rest of the wall. Let’s hope it works!


06 June 2013

Day 469: Concrete table above fire place

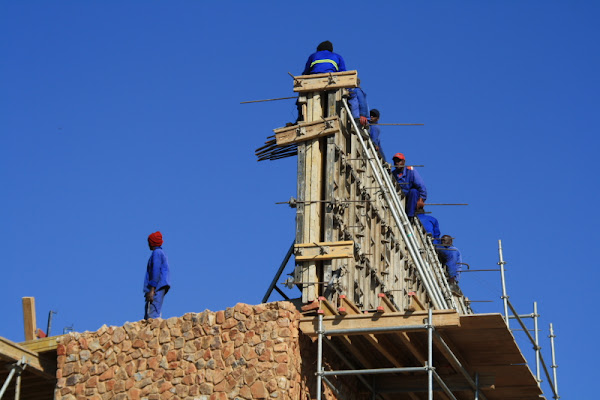
This was a tricky one. We had to fix the steel frame into place and cast the table in-situ, directly onto the polished floors. I was quite nervous!

The shutter boards was measured and accurately fastened in place. The steel was cut to the right size and placed into the mould. Finally, the concrete was carried with buckets and poured and vibrated. It looks like another success.

 The fireplace will be at the one end of this table, where the opening is. The fireplace body and chimney flue will be hidden behind brickwork. Therefore, the fire will be in a fire basket directly “under” the table, generating an open integrated solution.